I constantly see training on how to get the “film look” while color grading and color correcting footage, the problem is most people go about the process the wrong way. Instead of a filmic look, they end up with crushed blacks and blown out whites.
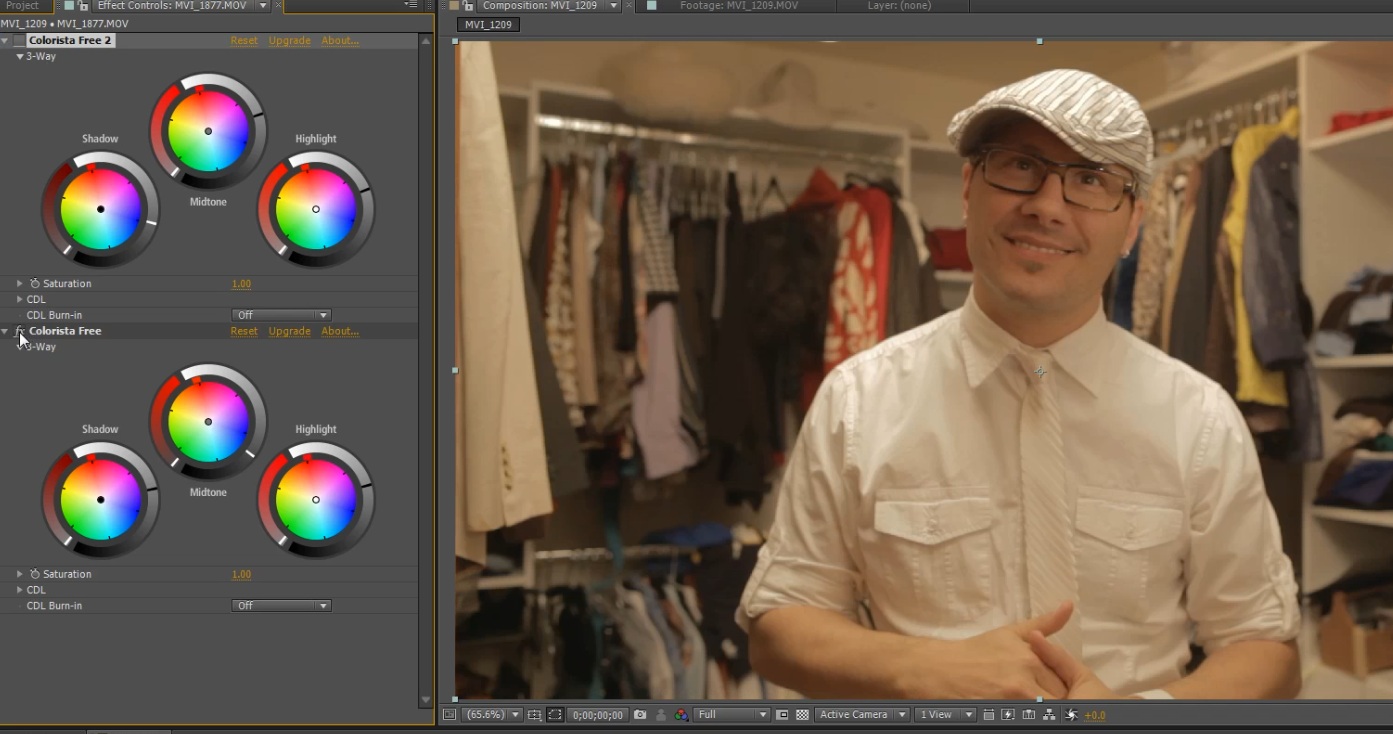
While down at Cine Gear Expo, I interviewed Technicolor about their CineStyle preset for the Canon 5D MkII. While getting setup for the interview, I asked one of the guys his technique for color grading. He showed me a new way to manipulate video that I think is much better for filmmakers.
In this video I grade the footage in Adobe After Effects with Red Giant’s Colorista Free.



Thanks Tony.
Simple yet effective. I’ll have to test that out with some footage this weekend. You’re using Colorista on After Effects?
For the sake of the video, I used After Effects. For most projects I prefer to do my coloring in my NLE (Premiere).
I very much liked this tip. I think I will use this.
u r the best
how do you do this in premiere? what effect to use
Highlights are still blown after grading 🙁
Cool I am an avid colorist and never quit went with this approach. nice tip. And great work on your entire site.
TrinityFXmg.com
You present an interesting way of grading, and you had me there for a second. But it wont work.. In this example you can just barely get away with it, but you would not want to use this method to color correct from shot to shot.
The midtones are meant to set your skintones at the right exposure. If you mess with that, and use it to expose your shadows instead, then what will you use to set your skin tone? Highlights? Well try that with a bright background or sunny sky, and you will blow the hell out of it.
The reason why it works in this specific shot, is because nothing in that image is brighter than her forehead. The skintone is exposed high enough.
Nice try tho. The correct way to avoiding crushing your shadows is to use curves. They give you much more control.
In the second image you are actually reducing contrast.Â
Third image same story as the first one, and in the last one you actually demonstrate how this technique falls apart.. The correction you did, made the image worse honestly