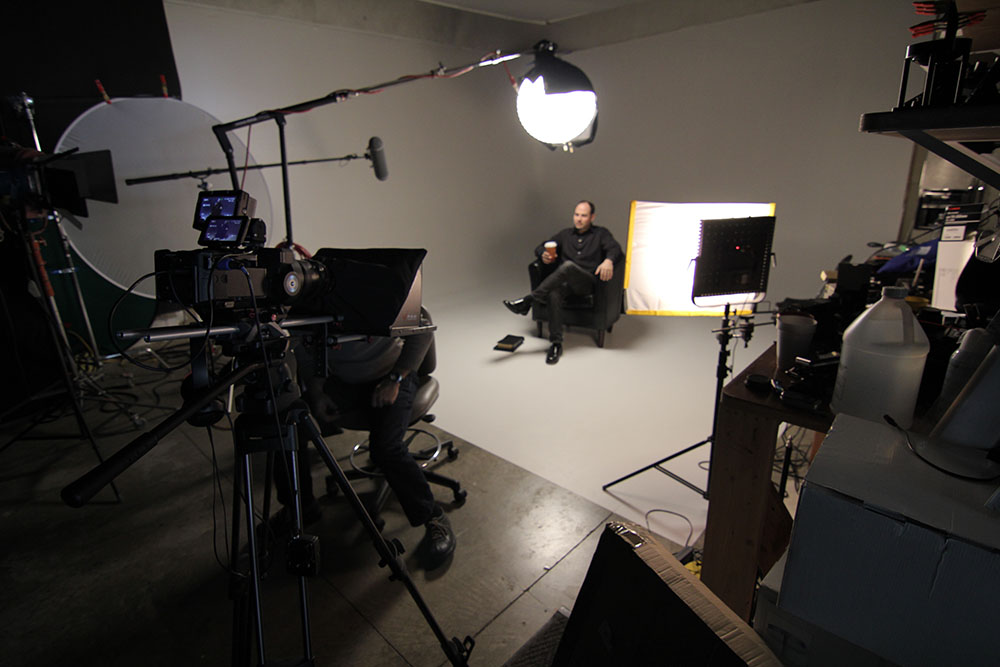
I’m always looking for ways to speed up my workflow on set. We operate with small crews and have to be setup and torn down under very rapid conditions often times. One frustration I encountered in many of my shoots was the inability to mount a light to a ceiling. Whether the ceiling was bare, too far away or simply didn’t exist (outdoors), I was having to compromise my creative vision by not getting the light where I wanted it. I was aware of the “menace arm” which is an arm that extends over the top of a scene. There are multiple ways to set one up but it usually involves c-stands, straps, poles, hardware, sandbags and a lot of danger (hence the term “menace”). I could see the benefit of rigging up a menace arm but I wasn’t sure that I’d have the time or the comfort level when working with novice grips. Then I came across Matthew’s Max Menace Arms.
The Max Menace Arm stand is so much easier to use and setup. It’s one self-contained stand that extends out to various lengths while keeping a very small footprint. You can even set it flush against a wall which is something you can’t do with a rigged menace arm. It comes in three flavors: Max (used by DPs like Rodney Charters), the Mini Max (my personal favorite) and MAXine. Now when you first look at the prices, chances are you are going to be put off a bit. That’s a lot to spend for a light stand. But when you see the functionality of it, you quickly see how this can be hugely invaluable on set.
I personally prefer the Mini Max as it is has the right length and weight capacity for my needs. MAXine is a great option for those on a smaller budget but it doesn’t quite have the reach that Mini Max does.
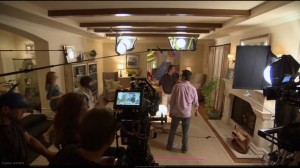
So once you’ve convinced yourself to pick one up, what do you put on the end of it? Well I’ve fallen in love with the Lanternlock system. Chinese lanterns (or China balls) are very versatile and you’ll see them everywhere on Hollywood sets such as in this scene from “The Hangover III”. One problem with Chinese lanterns is they are hard to rig. They come with a flimsy harp that doesn’t do much other than hold the the lantern rigid. Enter the Lanternlock which comes with four important features: a mount for a C-stand grip head, a stronger harp, a ring to securely attach fabric to flag off the light and a mogul bulb base that can handle up to a 1000w light. This turns the simple Chinese lantern into a powerful video light.
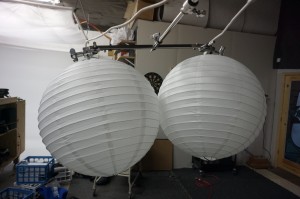 In the picture above we see that the lanterns were rigged to the ceiling. But what if you don’t have that option? That’s where the Max arm can really come in handy. Now you can place the lantern wherever you want while staying quick. And if you want to kick it up another notch, you can get two of them. Since the Mini Max is rated for up to 20 lbs. of weight, you can actually rig up two Lanterlocks on the end of a Mini Max without exceeding the weight capacity. I tested this out just the other day using an Avenger F900 Header. This allowed me to get 2000 watts of soft overhead light while still being able to reposition the height, angle and location at any time.
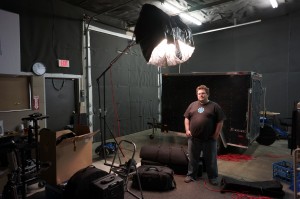 If you wanted even more control, you could add skirting to the light. Just for the test I used black visqueen which I usually use for flagging off windows. Visqueen is plastic and began to melt after a few minutes of use on the lanterns. I only did this as a test so I could see how much duvateen I needed to order. You can also get it cheaper as “commando cloth“. This stuff is much better for using with lights as it is flame retardant. I usually try to keep a healthy amount of duvateen and visqueen with me for controlling light spill.
 So how were the results? You can see here that we are getting a very nice looking key on Sean without getting much spill on the shiny black trailer behind him. As long as he’s not directly underneath the light, you won’t get unflattering deep eye socket shadows. I really love this setup and expect to continue using it all the time. It’s especially good for scenes where you need to cover more than one person at a time (i.e. dinner table, living room chairs, etc.).

